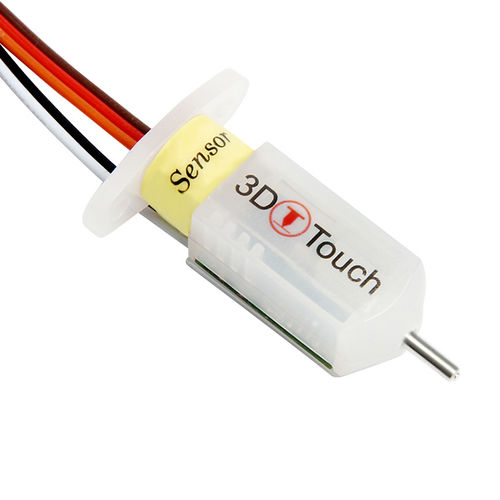
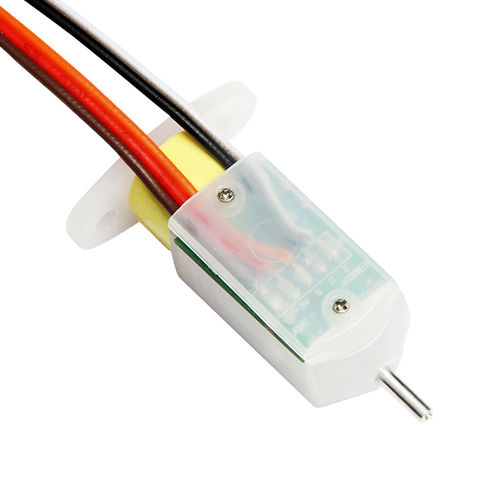
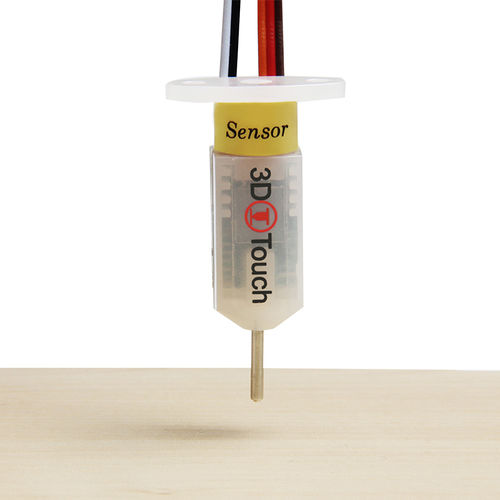
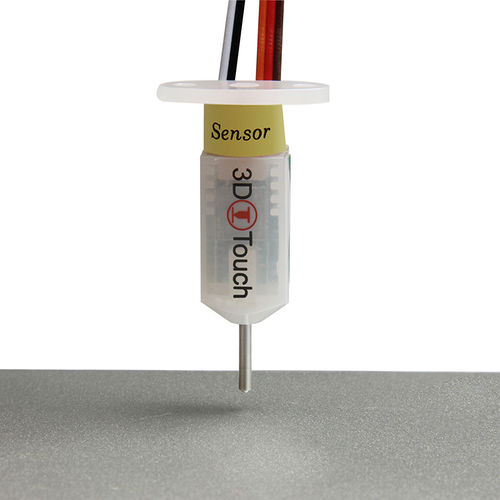
3DTouch Auto Leveling Sensor
Contents
Introduction
3DTouch is an auto leveling sensor for 3D Printers that can precisely measure the tilt of your print surface. 3DTouch can greatly improve the printing precision of your 3D Printer.
3DTouch features simple, smart and precise. It could work with nearly any kind of bed materials, such as glasses, woods, metals and so on.The main functions and controls of 3DTouch are the same as most auto bed leveling sensors, which consists of a RC servo and a micro switch.Thus,3DTouch can be used on almost every 3D printer control board.
By using progressively designed solenoid and hall sensor, 3DTouch can integrate high precision in such a simple structure. To make it more user-friendly and to bring you more enjoyable printing experience we add many smart functions such as self-test, false alarm, alarm release and test mode for M119.
Feature
1 Simple
3DTouch can be easily applied, since it has a small and simple structure. Gathering information & firmware setting will be an easy task, because 3DTouch works as usual auto bed leveling sensor.
2 Smart
Self-test: The push pin is operated three times to test when the power is on Alarm: The LED light blinks if a problem found on a self-test or on an operation
3 High-precision
3DTouch’s Standard Deviation in repeatability is around 0.005mm, at that precise. If you choose 3DTouch, your 3D printer will be high-class masterpiece, giving you an enjoyable experience.
4. Innovative Solenoid: Ultra Power Saving
On idle state, while the push-pin is whether pulled out or retracted, there are not any electric current flowing on solenoid, and standby electric current in the whole device is below 15mA on average, whereas on working state, while the pin is moving in sudden about 100ms, under 300mA flows in the device. Low power consumption even further drops joule heating, preventing from heat problem.
5 Technologies
3DTouch consists of Atmel ATtiny13A, solenoid, and a push pin.
6 wide Selection of Bed
3DTouch does not uses either optical, nor proximity (inductive/capacitive) sensor. 3DTouch is controlled by Hall Effect, providing high precision. Thus the bed material can be selected freely.
7 Optimized structure: Larger Build Size
3DTouch is a small and technology-intensive one. Build size can be set larger than other existing auto bed leveling sensor. 3DTouch uses existing RC Servo motor signal intactly, so just plug 3DTouch on the same pins after removing servo motor.
Specifications
Voltage: 5V
Current: 15mA
Max. Current: 300mA
Cable len3Dh: 150mm
Weight: 10g
Wiring
3-pin: Brown (-, GND)
Red (+5V)
Orange (control signal)
2-pin:
Black (-, GND)
White (Z min)
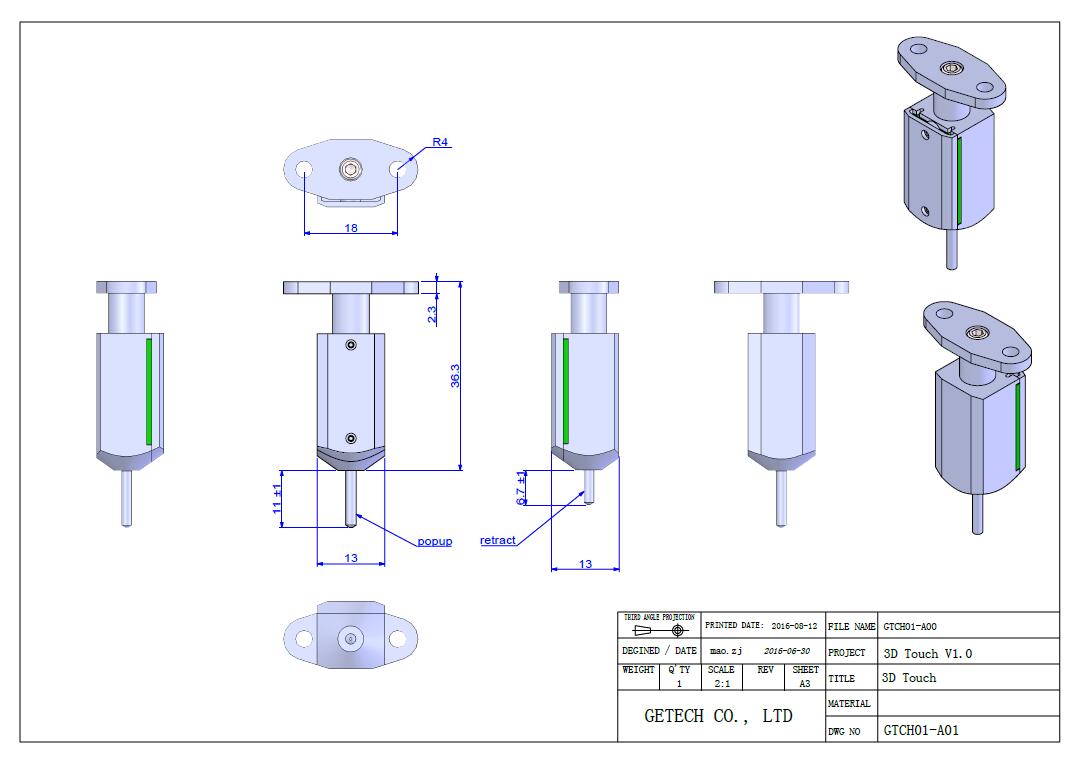
Dimension
Use of 3DTouch
Mechanical
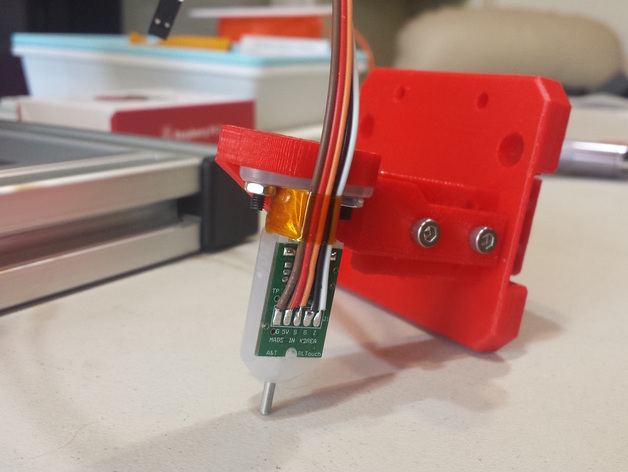
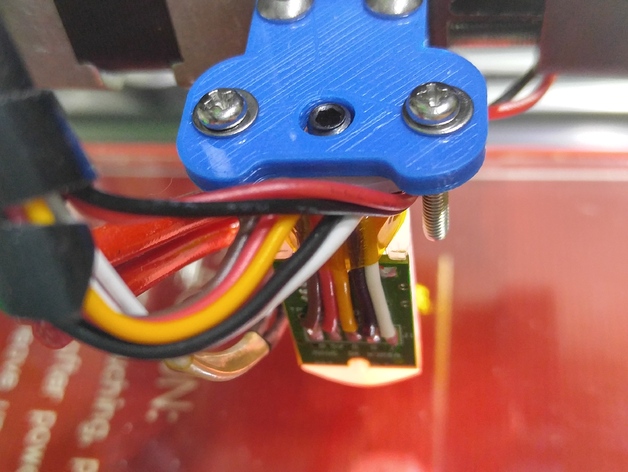
You will need a suitable mount to attach the 3DTouch sensor to your printer.
Thingiverse also has mounts for many other printer types.here are some examples
Example 1
Example 2
The mount needs to be adjustable so that the distance between the bottom of the sensor (not the pin) needs to be 8.3mm above the tip of the nozzle. The sensor should also be at least 15mm away from the hot bits.
Electrical
The 3DTouch Auto Leveling sensor has 5 wires, 3 to the first servo connection and 5v and 2 to the Z min end stop, negative and signal pins. NOTE: A link is needed between VCC and 5V in order to extend 5V to the servo connector pins. The scheme below suits the Aurdino/RAMPS used on my printer.
Ramps1.4
Sanguinololu Rev 1.3a
Rumba
Rambo
Melzi
Azteeg
Firmware
Changes need to be made for the configuration.h file in the Marlin source code for 3DTouch. The required changes are similar to how you would setup a mechanical servo sensor.
Testing
When the BLTouch is first powered up it does a self test – Starting with the pin up it them goes down/up 3 times and ends up the the LED on solid. Continuous flashing means that there is an obstruction or fault.
The BLTouch acts on the following gcode that can be used manually to diagnose faults etc but you don’t need to normally worry about them.
M280 P0 S10 ; pushes the pin down
M280 P0 S90 ; pulls the pin up
M280 P0 S120 ; Self test – keeps going until you do pin up/down or release alarm
M280 P0 S160 ; Release alarm
Alarm – The 3DTouch can sense when something is wrong and then goes into alarm mode which is continuous flashing. Alarm can be triggered like an obstruction that stops the pin going up and down freely, it could be dirt etc.
Printing
Providing the firmware is correctly configured, the sensor responds to the same codes as any other sensor eg inductive, capacitive or IR. The Start Code in you slicer should contain the sequence G28 followed by G29 to do the auto bed levelling.
*Don’t put another G28 after the G29 as it will just remove the G29 results.
Calibration
These instructions are written to explain how to calibrate using a computer connected through the USB port to your printer. This process also assumes that the EEPROM has been enabled in Marlin.
From the command window of Repetier Host or Simplify3D etc enter the following:
M851 ; note the number
M851 Z0 ; set the offset to zero
G28
G1 Z0
The LCD display should show Z = 0
From the display go to the Menu then Prepare/Move axis/0.1mm/Move Z
Now move the Z axis slowly down until the nozzle is the right distance from the build plate (folded piece of paper or thin card).
*Note the Z axis value on the display it should be something like -1.5
M851 Z-1.5 ; to set the offset you got in the previous step.
M500 ; Stores the values in EEPROM so that it is not reset when you power the printer off and on.
Now you are ready to print.
If you find that you need to increase or decrease the gap then do:
M851 Z-1.4 ; this would make the gap bigger or
M851 Z-1.6 ; this would make the gap smaller
M500 ; to save the value to EEPROM
*Remember the -1.4, -1.5 and -1.6 are just examples , yours will be different.
