Geeetech Rostock mini G2 & G2s pro Quick Starter Manual
Please DO NOT rush to start your first printing after assembly, as this is a DIY kit, some parameters of the printer may be different from each other, you need to modify the firmware according the the real situation of your printer. You are advised to read through the whole set-up instructions step by step to get a whole picture of what you will be doing and stick to our instructions before you start with your printer. Do not skip any details.
How to modify and upload firmware.
In the following set-up process, you will need to modify and upload the firmware by yourself, so, first of all, let’s start with the firmware compiling and uploading process.
1. Download the firmware here:
Firmware for Delta Rostock mini G2 &G2s pro
2. Connect GT2560 to your PC with a USB cable,install FTDI drive. Usually it will install automatically. If not you need to install manually. download the FTDI driver here.
3. If there is nothing wrong with the hardware of board, you can find COM port in device manager. But every computer has different COM watchword, you need check by yourself.
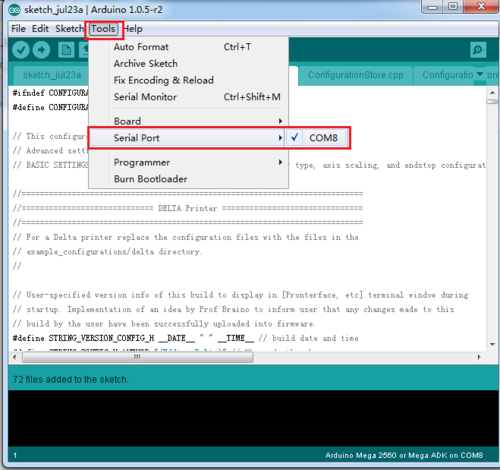
4. Unzip the firmware, drag all the files into Arduino IDE.(I use Arduino1.0.5),choose Board\Arduino Mega or Mega2560,and selects ATmega2560(Mega2560) as default Processor. The order cannot be wrong. Selects the COM port you find in the device manager.
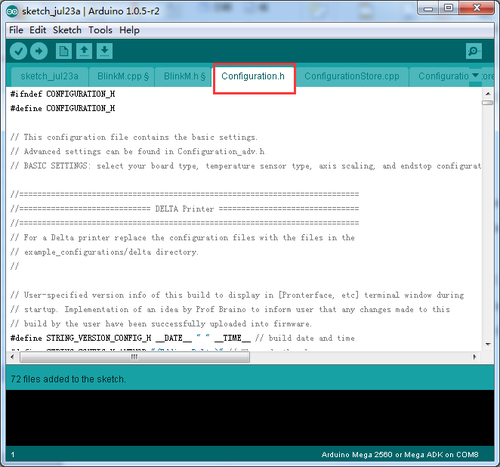
5.Most of the code you need to modify is in Configuration.h . More details on this later.
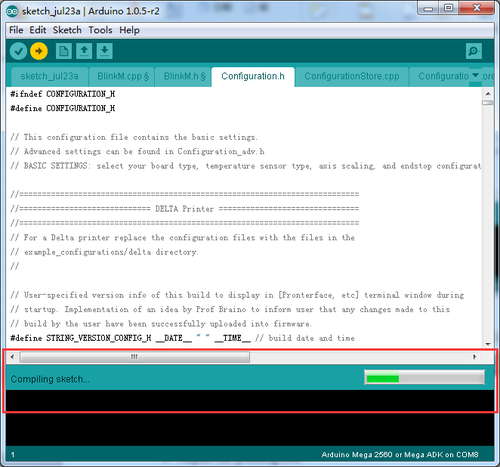
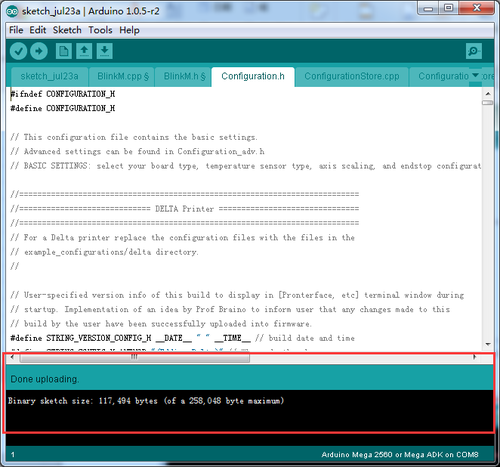
Find the value you need to compile according to your printer. ( we will elaborate which part of setting you need to change later one by one). Upon compiling, you can upload the firmware to your control board. Simply click ![]() and
and ![]() to upload.
to upload.
( Note: You need to disconnect the printer to Repetier Host before uploading).
Compiling
Uploading
