The function and usage of BIOS in Micro2440
Contents
Enter BIOS in Mini2440
Declaration: The CD-Rom attached to the development board includes two supervivi file:supervivi64M and supervivi-128M.
Supervivi is applied to 64M Nand Flash mini2440/micro2440; Supervivi-128M is applied to 128M/256M/512M/1GB Nand Flash Mini2440/Micro2440.
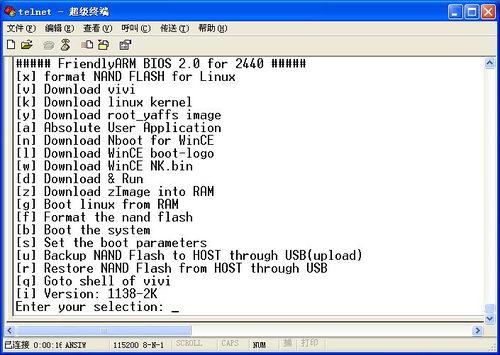
Supervivi has been pre-installed in Nor Flash of Mini2440.Set the toggle switch S2 to Nor Flash side to enter BIOS mode, the green Led on the development board will flicker at this time. The BIOS menu is below;
Supervivi instruction
The BIOS which is named after Supervivi applied in the development board is based on the original SUMSUNG bootloader vivi. The BIOS uses the menu mode and it can be switched to the original command line mode easily.
Supervivi is burned into Nor Flash using JTAG board via H-JTAG application, it also can be burned into Nand Flash. When it has been burned in Nor Flash and run on it, it will show menu mode. When it has been burn into Nand Flash and run on it, it will show menu mode after pressing any key on the development board, or it will boot the systm pre-installed(Linux/WinCE).
The menu mode of Supervivi is mainly used for system burning and debugging, and it also can be used as parameter settings and partitioning. It is easy to build system burning environment by its USB download mode, which features asts download speed and ease of use.
If Supervivi is burned into any Flash by default, you can not only upload the updated Linux and WinCE system , but also burn any operating system or non-operating system which supports booting from Nand Flash, such as uCOS2, U-boot, Nboot and 2440test. We will increase the demo like this gradually.
After supervivi is burned into Nand Flash, it can automatically identify the Linux, WinCE or other system and boot them rapidly. Also we can use it as bootloader in system installation.
In addition, Linux kernel file zimage can be uploaded in Memory and runs instantly, if you have configured the network boot parameter, the system can be booted from network. Supervivi can upload the WinCE image file NK.nb0 in Memory and run.
Install USB driver
Note: The USB driver runs in the BIOS mode only, and it works with the DNW application. It is not necessary to use it entering the Linux and WinCE system.
It is unnecessary to connect PC to development board for installing USB driver, the installation is individual.
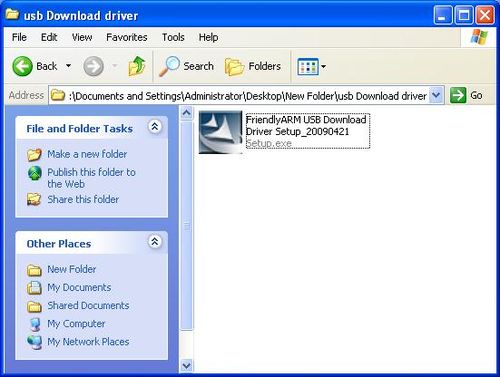
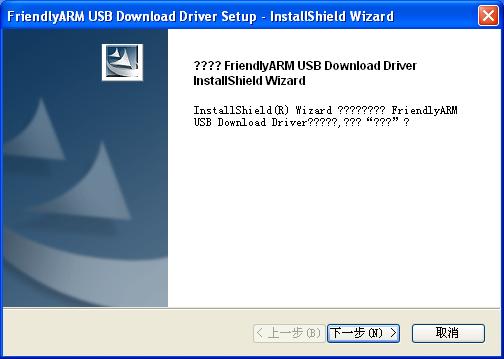
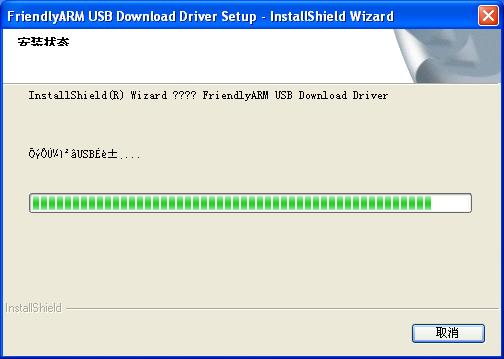
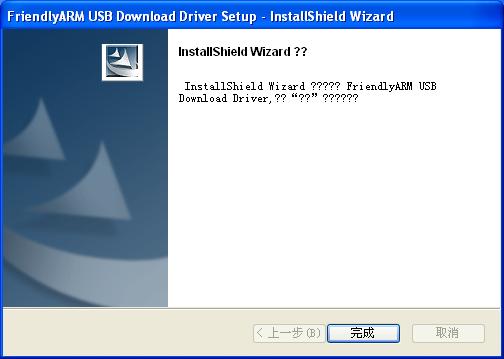
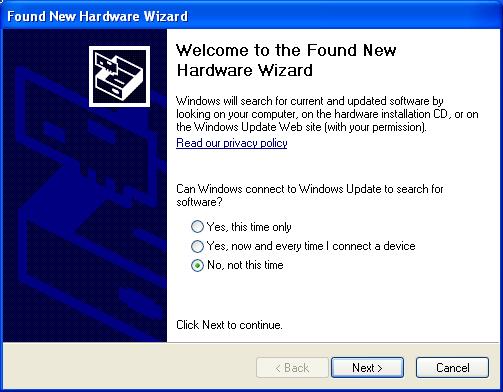
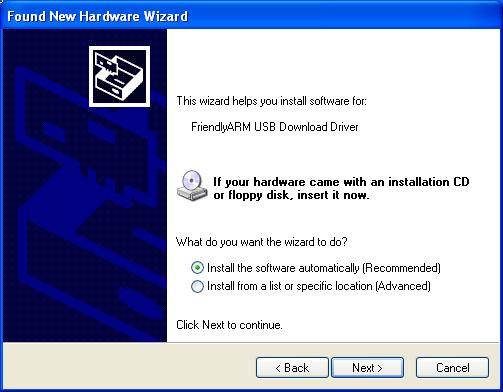
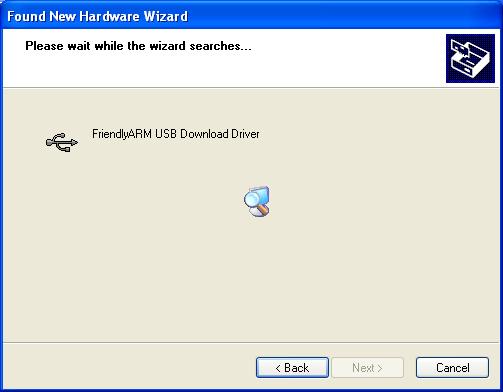
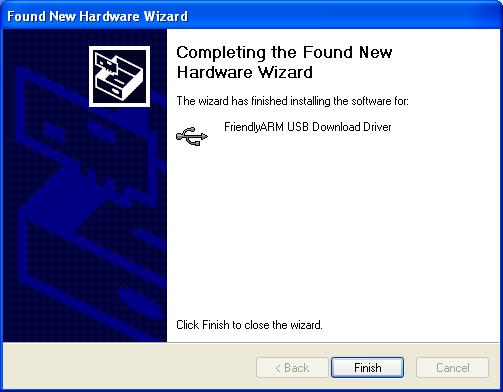
Double click the “windows Tools\usb Download driver “ to install USB driver.
Next we detect the USB driver, first we set the toggle switch to Nor Flash side, connect the USB cable and power supply (Serial cable is not necessary).
Switch on the power, Windows will show you new device found first time.
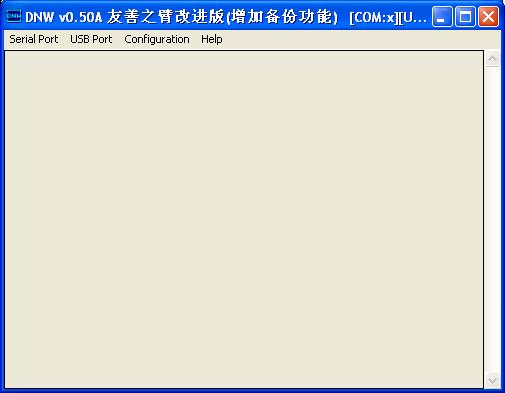
Open the DNW.exe, we can see the USB connection is OK as image below.
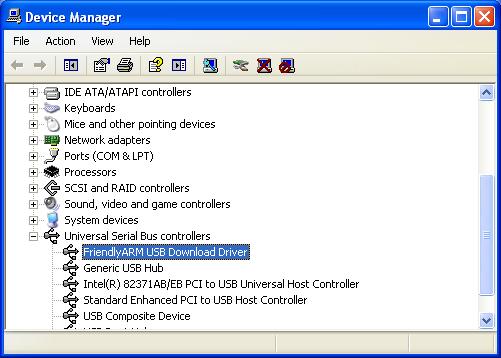
In the device manager, we can see the USB downloader driver info.
Note: The download function via USB cable need to work with DNW.exe.
[x]: Partition the Nand Flash by default, it is equivalent to execute the command bon part0 320k 2368k which is valid for Linux.
[v]: Download linux bootloader to the bootloader partition in Nand Flash by USB cable.
[k]: Download the Linux kernel to kernel partition in Nand Flash by USB cable.
[y]: Download yaffs file system image to root partition in Nand Flash by USB cable.
[a]: Download the user application which generally is executable bin file format by USB cable, such as 2440 test,uCos2,Uboot and other bin files.
[n]: Download the boot file Nboot to Block0 in Nand Flash by USB cable.
[l]: Download the WinCE boot logo(bmp file format) by USB cable.
[w]: Download the WinCE release image NK.bin in Nand Flash.
[d]: Download and run the application to specified address in Memory (by the Configuration->Option in DNW.exe). The initial address of the SDRAM is 0x30000000, end address is 0x34000000, the size is 64Mbytes. In addition, the BIOS occupies the address over 0x33DE8000,so you should specify the address 0x30000000 - 0x33DE8000 by using the USB download.
[z]: Download the Linux kernel image zimage to Memory by USB cable, the download address is 0x30008000.
[g]: Run the Linux kernel image in the memory, this function works with function [z].
[f]: Clear the Nand Flash, this function will clear all data in the piece of Nand Flash. (If you are the first time to use this development board, don’t worry about the mis-operation, you can recover it to original status.
[b]: Boot system, this command will automatically identify the booting system no matter it is Linux or WinCE.
[s]: Set the Linux parameters
[u]: Backup the whole data in Nand Flash to PC by USB cable and save as a file. This function is similar to the Ghost applied to PC.
[r]: Restore the back-up file to nand Flash.
[i]: Version information.
[q]:Back to command line mode as below.
