How to install Linux
Note
This section assumed that you have installed the USB driver as mentioned and set the development board to NOR Flash. After the Linux system installation is complete, please set the board to Nand Flash starting.
Description:
Binary file of installing Linux is located in “images\Linux”
- The steps of Linux installation is below
1)Partition the Nand Flash
2)Install the bootloader
3)Install the kernel file
4)Install the File system
Partition
Tips: Partitioning will erase all data in the Nand Flash.
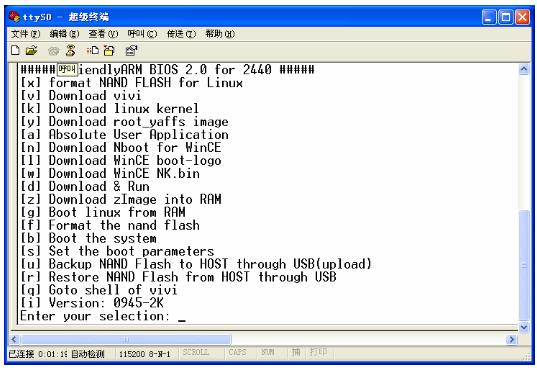
1)After connecting serial port and opening Hyper Terminal, power the development board and enter BIOS menu.
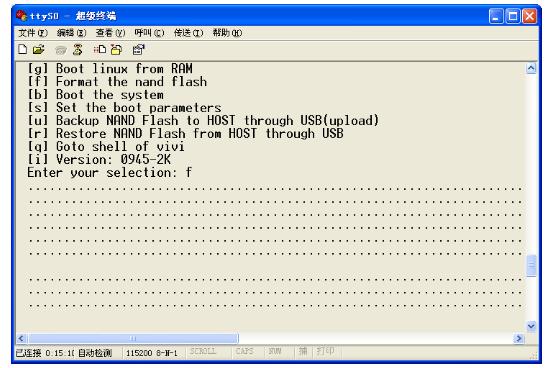
2)Select [f] to start partitioning Nand Flash as the photo above.
Tips: Some Nand Flash will report bad track existed, because the supervivi will detect and record the bad track, yet it doesn’t affect the use of development board.
Install bootloader
Supervivi is developed from vivi, supervivi-64M and supervivi-128M is applied to 64M and 128M-1G development board respectively. Because the usage and the function of them is same, so we call them supervivi collectively.
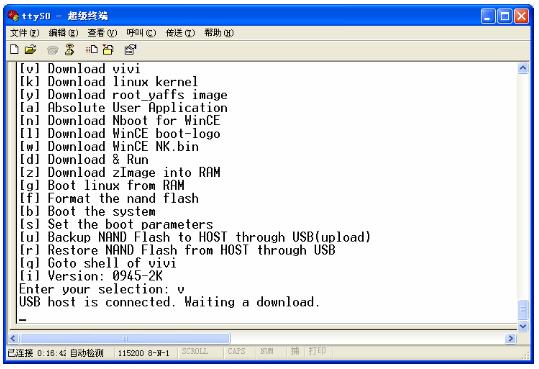
1)Open DNW and connect USB cable, [USB :OK] in the title bar indicate the USB cable is connected successfully. Then select function [v] to upload supervivi.
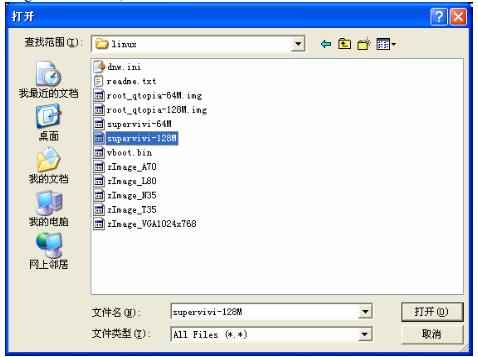
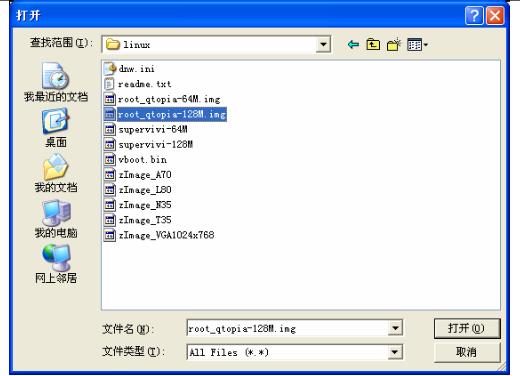
2)Click “USB Port->Transmit/Restore” and select the file supervivi located in “images/linux” to upload
3)After uploading is complete, the BIOS will burn supervivi to Nand Flash partition and then return to main menu.
Install Linux Kernel
Description: Linux kernel is appropriate for 64M/128M-1Gb Nand Flash for mini2440 and micro2440.
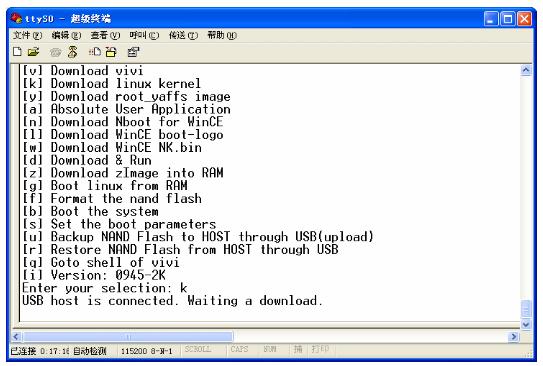
1)Select function [k] in BIOS menu to upload linux kernel zImage.
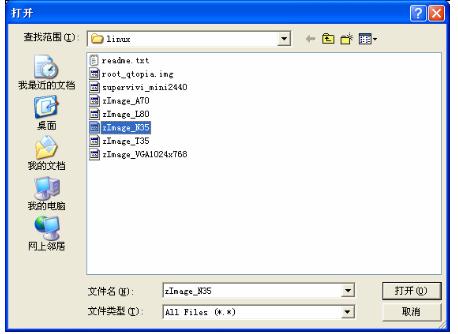
2)Click “USB Port->Transmit” in DNW and select corresponding kernel zImage located in “images\linux\” to upload.
Linux kernel description
zImage_n35 - Support for NEC 3.5 "LCD in the kernel file
zImage_x35 - Support for SONY 3.5 "LCD in the kernel file
zImage_w35 - Support for 3.5 " landscape LCD in the kernel file
zImage_T35 - Support for TPO 3.5 "LCD in the kernel file
zImage_a70 - Support group Chong 7 "LCD in the kernel file
zImage_L80 - Support for Sharp 8 "LCD (or compatible model) of the kernel file
zImage_vga1024x768 - Support VGA expansion module (resolution of 1024x768 @ 70Hz) of the kernel file
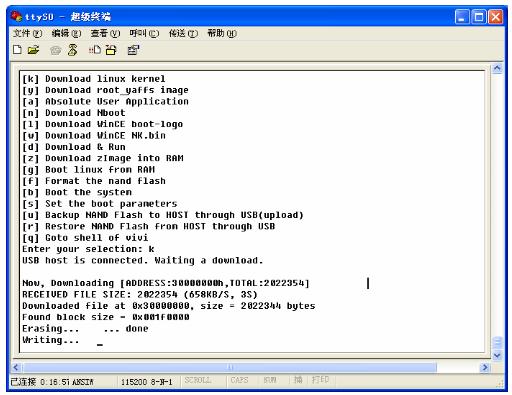
3)After uploading is complete, the BIOS will burn kernel to Nand Flash partition and then return to main menu.
Install root file system
Description: 64M and 128M-1Gb mini2440/micro2440 has different file system downloading image which corresponds to root_qtopia-64M.img and root_qtopia-128M.img. Actually content of both images is same except the difference of the making tools (mkyaffs2image). So we call the file system image root-qtopia.img collectively.
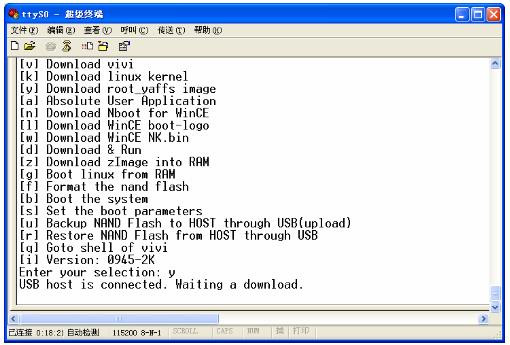
1)Select the function [y] in bios menu to download root file system image.
2)Click “USB Port->Transmit/Restore” in DNW and select the corresponding image root-qtopia.img located in images\linux\ to download.
Root file system image description:
root_qtopia-64M.img- apply to 64M Nand Flash version mini2440/micro2440
The file system image by default installation supports USB mouse and touch screen all together, and identifies VGA module output and NFS   start automatically.
root_qtopia-128M.img- apply to 128M-1G Nand Flash version mini2440/micro2440
The file system image by default installation supports USB mouse and touch screen all together, and identifies VGA module output and NFS start automatically.
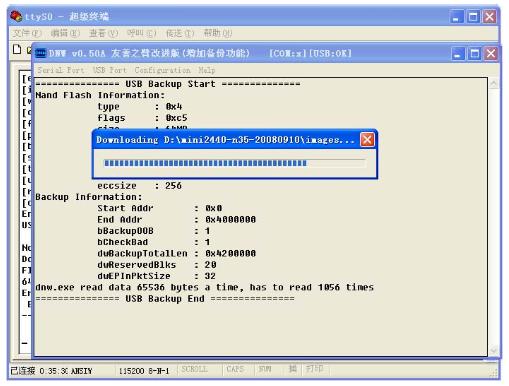
3)Downloading process is below. After downloading is complete, BIOS will upload kernel to Nand Flash partition and return to main menu.
- Tips
The procedure of uploading will last 2-3 minutes. The duration of image uploading is in accordance with file size.
- Note
1.After uploading is complete, please unplug USB cable. If not, it may cause computer crash when you start or reset the system.
2.Select function [b] in BIOS menu will start system. If you set the starting mode of the development board as Nand Flash, the system will start when power is applied.
