Difference between revisions of "LilyPad SimpleSnap"
(→How to buy) |
(→Features) |
||
| Line 23: | Line 23: | ||
sew-on snap size 2/0 (8mm diameter) NOTE: size subject to change | sew-on snap size 2/0 (8mm diameter) NOTE: size subject to change | ||
| + | |||
| + | ==Download == | ||
| + | [http://www.ftdichip.com/Drivers/CDM/CDM%20v2.12.00%20WHQL%20Certified.exe FIDI driver] | ||
== Dimensions == | == Dimensions == | ||
Latest revision as of 01:02, 28 August 2015
Contents
Overview
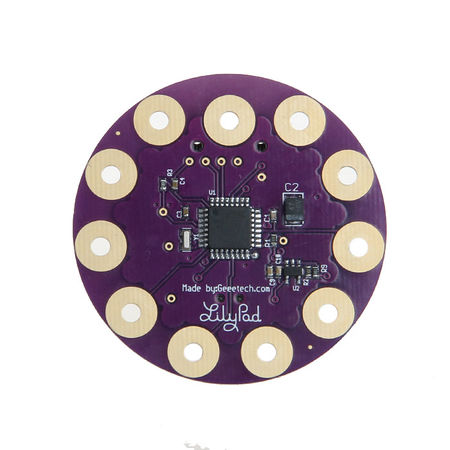
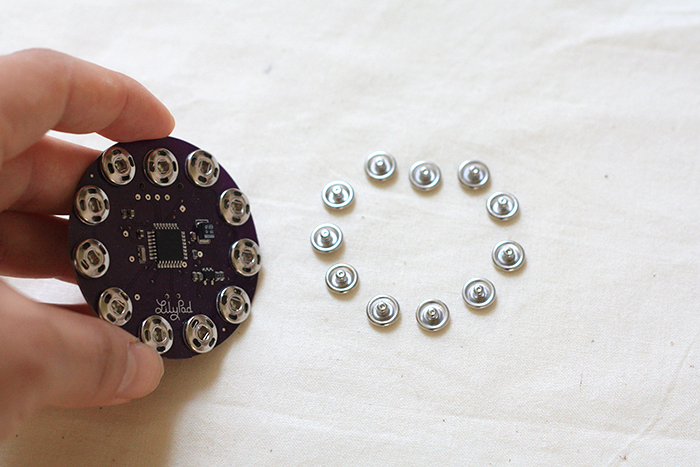
The LilyPad Arduino SimpleSnap is a small sewable computer. It can be snapped onto fabric and connected to other electronic pieces via sewn-on snaps or its companion LilyPad SimpleSnap Protoboard. This LilyPad board has 11 pins — the silver snaps that ring the outside of the board. Each of these pins, with the exception of (+) and (-), can control an attached input or output device (like a light, motor, or switch). This board is based on the ATmega328V microcontroller. The microcontroller is the black square in the center of the bottom of the board. You can program this LilyPad board using the Arduino programming environment.
Features
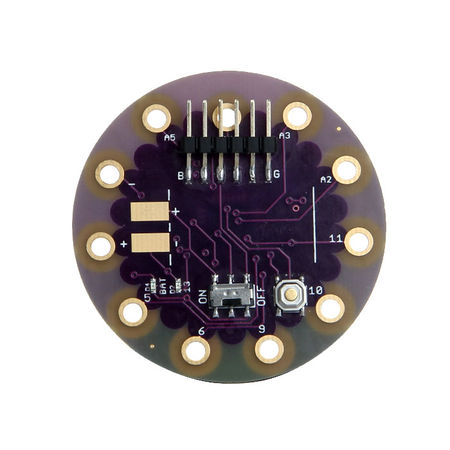
This board has 11 pins (9 IO pins plus power (+) and ground (-) pins), an on-off switch, and a built in battery. The battery will charge whenever the board is attached to a computer. An orange charging light will glow while the battery is charging and turn off when charging is complete.
total pins 11
digital IO pins 9
analog input pins 4
PWM pins 5
power board powered by an on-board 3.7V LiPo battery sew-on snap size 2/0 (8mm diameter) NOTE: size subject to change
Download
Dimensions
50mm outer diameter Thin 0.8mm PCB
How to Attach
There are few different ways to attach this LilyPad to your project
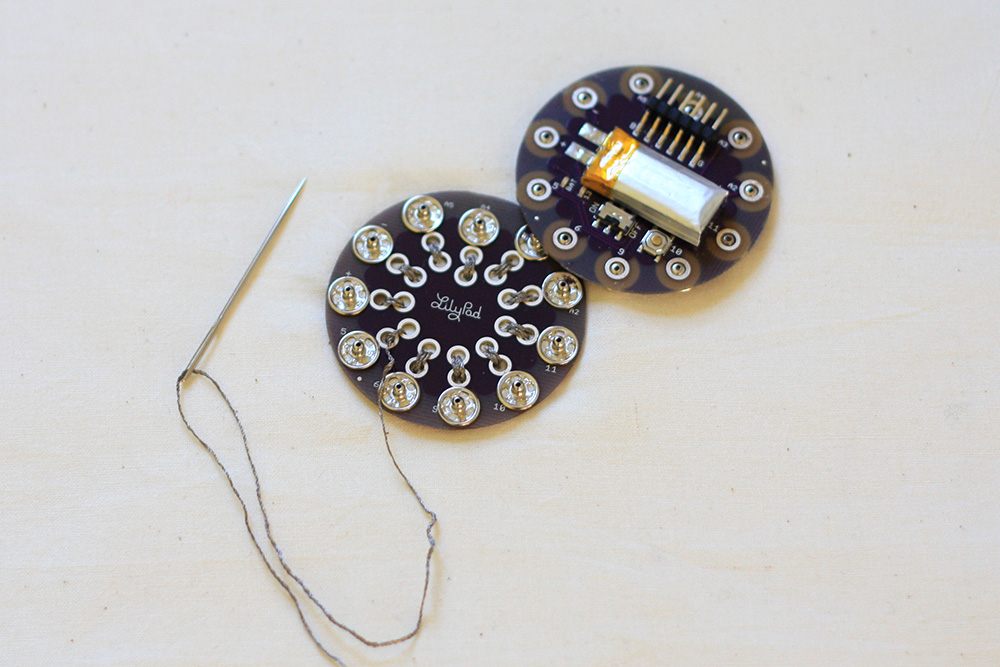
1. You can use the LilyPad SimpleSnap Protoboard. Sew the Protoboard to your project material and snap the LilyPad to the Protoboard.
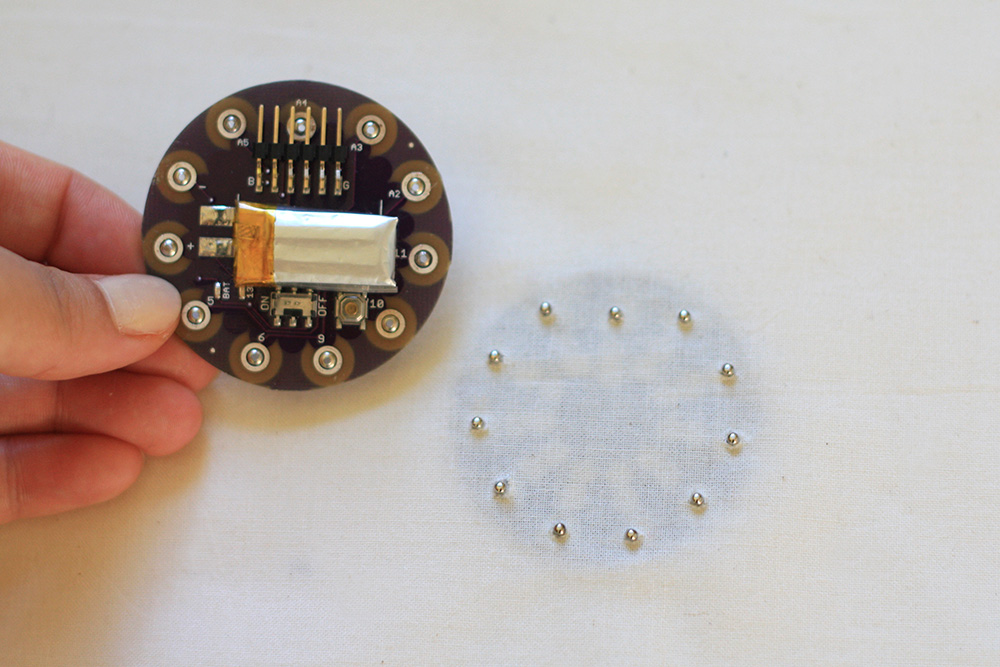
2. Sandwich material between the LilyPad and the Protoboard. Cut holes for the snaps in your project material. Place the Protoboard on the back side of the material and snap the LilyPad onto the front of the material, sandwiching the project between the two boards.
3. Attach the LilyPad to your project with snaps. Sew or rivet snaps directly to your project. Snap the LilyPad onto the project.
Tutorials
LilyPad Arduino E-Sewing tutorial [1]
Washing
Do not wash this board! Remove the LilyPad Arduino SimpleSnap from your project before washing it.
Documents
[MCP73831http://ww1.microchip.com/downloads/cn/DeviceDoc/21984a_cn.pdf]
File:LilyPad-SimpleSnap-v13.pdf
How to buy
Click here to buy Lilypad SimpleSnap
