Difference between revisions of "Creating the SD boot card"
| Line 1: | Line 1: | ||
| + | 11 | ||
| + | |||
==Burn BIOS based on WindowsXP== | ==Burn BIOS based on WindowsXP== | ||
Note: Some customer report that some SD reader build in Notebook can’t work, in this case, you can try to use the common USB reader.<br> | Note: Some customer report that some SD reader build in Notebook can’t work, in this case, you can try to use the common USB reader.<br> | ||
Revision as of 08:27, 6 July 2012
11
Burn BIOS based on WindowsXP
Note: Some customer report that some SD reader build in Notebook can’t work, in this case, you can try to use the common USB reader.
in addition, SD-Flasher will partition 130M for free space at least, as a result , some SD card less that 256M can’t work, we recommend the 4GB SD card at least, because the image file is quite large.
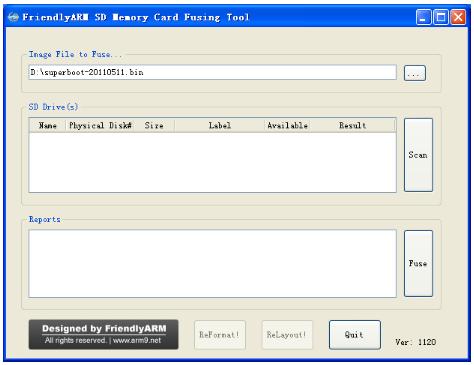
Step1;Run the SD-flasher.exe located in \tools\ in the CD-ROM, please note the “Relayout” and “Reformat” button is invalid, we disable the function in windows XP.
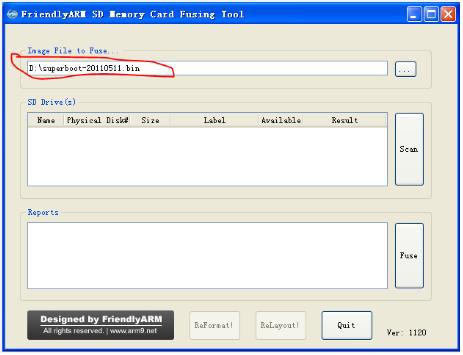
Step2: find the superboot located in CD:/images
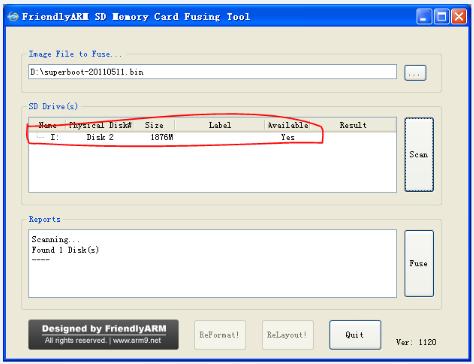
Step3: Put the FAT32 format SD card in SD card reader, then click “Scan”, the SD card founded will be listed.
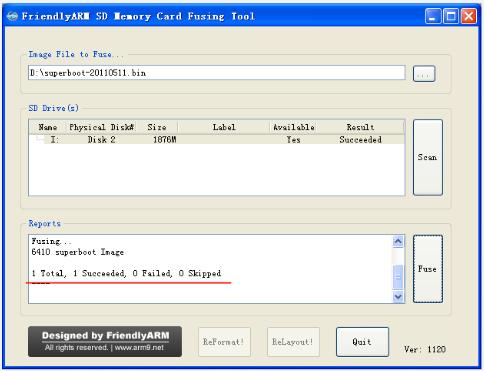
Step4:Click “Fuse”, the superboot will be burned in SD card.
Superboot can’t be seen after its been burned in SD card. How can we detect it? Plug the SD card into the development board and set the switch S2 to “SDBOOT” side. After power-on, the flickering Led1 indicates the superboot working. If the LED1 doesn’t flash or no output show in serial monitor, it means the burning failed.
Burn BIOS based on Windows7
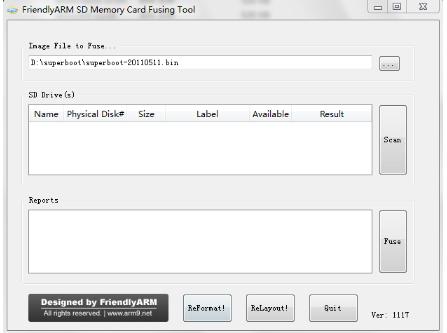
Step1: Run the SD-flasher.exe located in \tools\ in the CD-ROM, please note you need to run it as administrator.
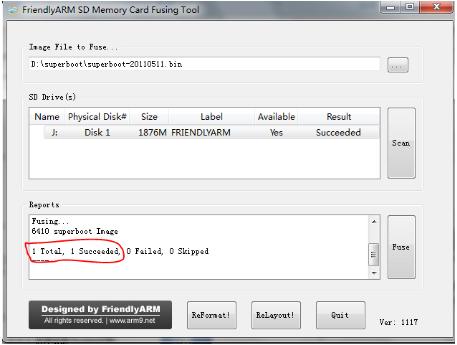
As the photo below, please note the ”Relayout” button is valid now. We will partition SD card via it so as to read or write safely.
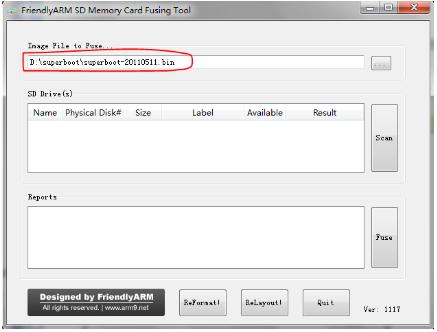
Step2: find the superboot located in CD:/images
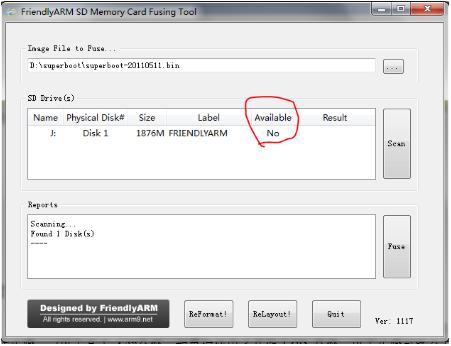
Step3: Put the FAT32 format SD card into SD card reader and backup the data in SD card. Then click “”Scan” the SD card founded in the list is not available.
Step4:Click “ReLayout”, a message box pop up to prompt that the data in the SD card will lost. Click “Yes”, partition will start.
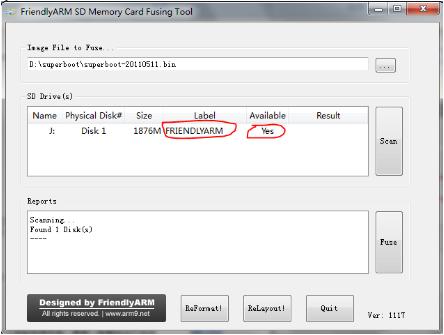
After partitioning is finished, please back to SD-flasher interface and click ”Scan” . The of SD card listed is available now and the volume label is “FriendlyArm”.
Step5: Click “Fuse”, Superboot will be burned to SD card unformatted section.
Superboot can’t be seen after its been burned in SD card. How can we detect it? Plug the SD card into the development board and set the switch S2 to “SDBOOT” side. After power-on, the flickering Led1 indicates the superboot working. If the LED1 doesn’t flash or no output show in serial monitor, it means the burning failed.
