My I3 Pro C
-
- Posts: 1
- Joined: Sat Sep 19, 2015 7:04 pm
- Location: France
My I3 Pro C
Hello all,
I've got it, my little is finished, received last friday, one week without party (hum yes, just one) and a lot of pleasur to mount it and voila
When i open the package i've 2 think in mind "where I go?? and quick quick quick "
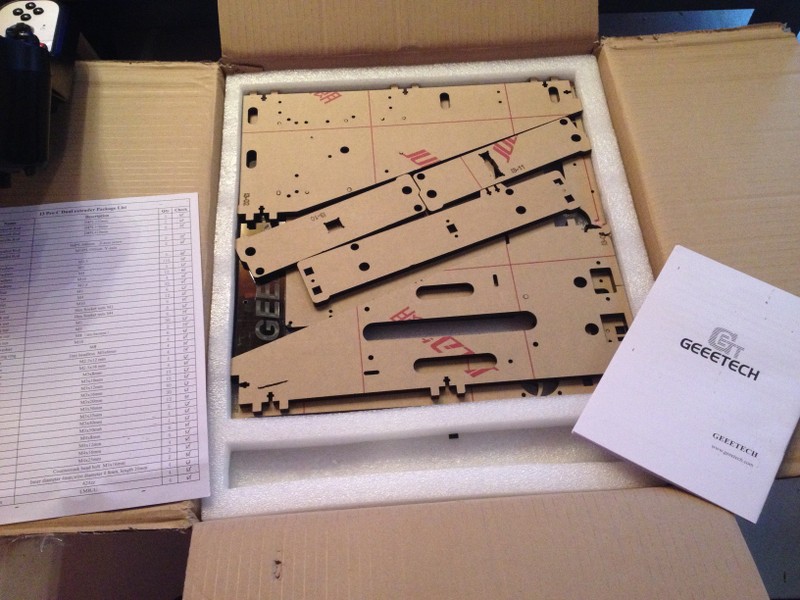
Little sort of all parts, I've in mind the era of mine Lego city
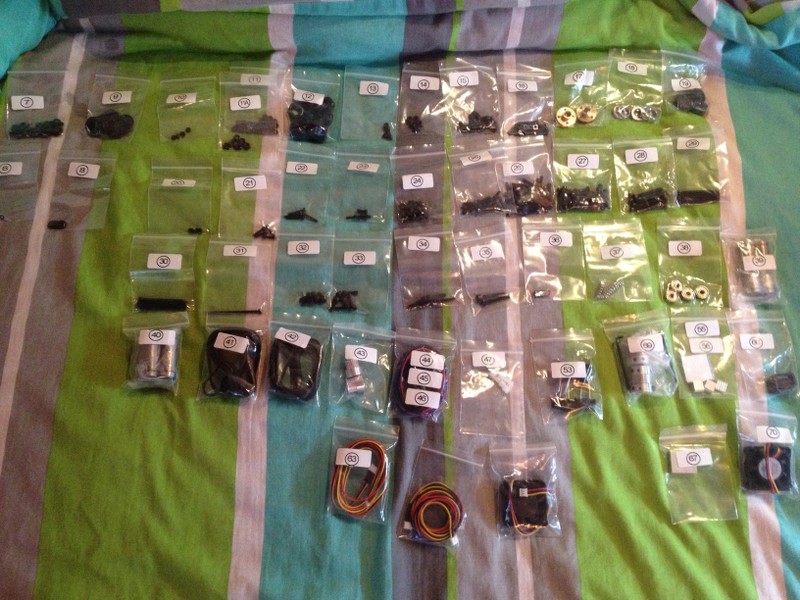
The number on the packet are very grateful.
Here we goes...
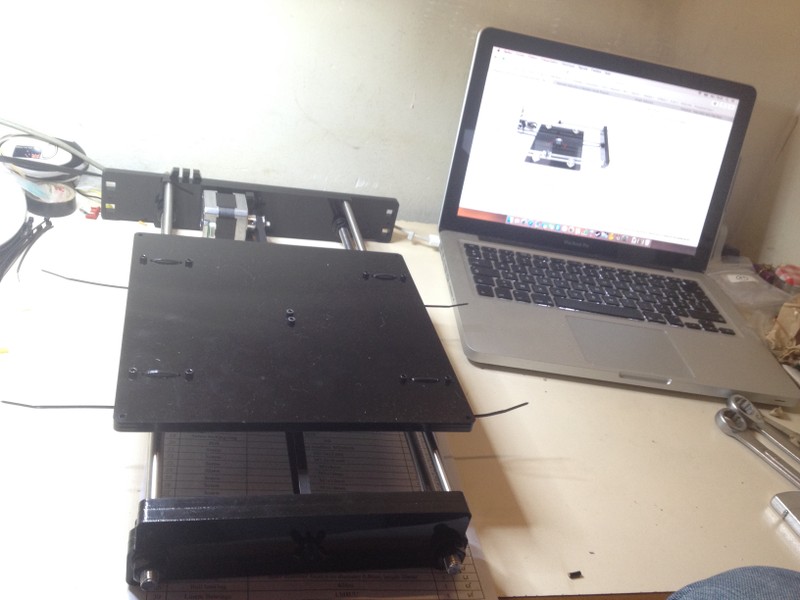
For prospective buyers, the wiki and instructable of GEEETech are outdated but the top holes are normal.
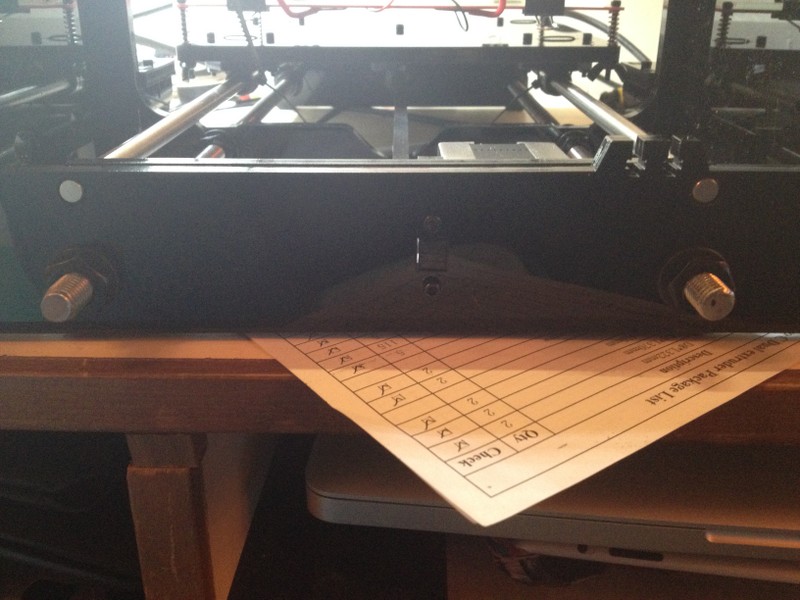
I had to remove some material that the belt does not rub X
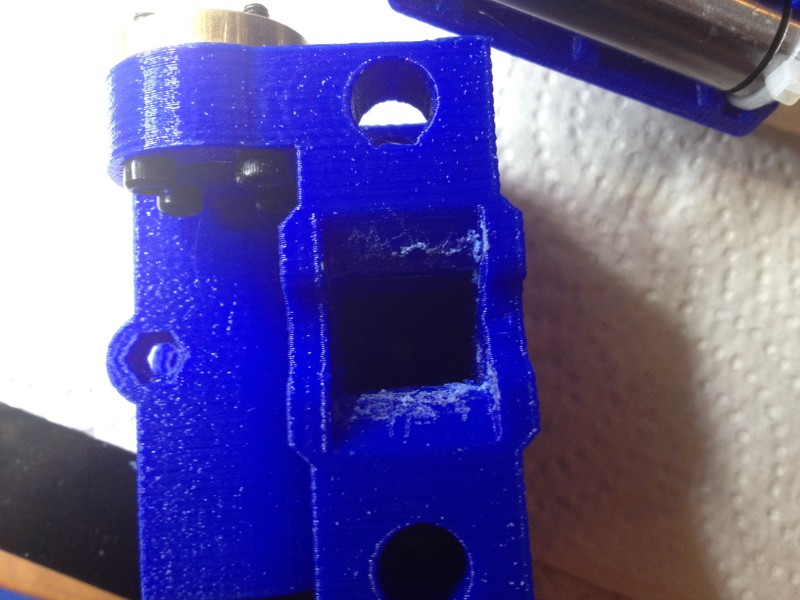
The double MK8 head is also sold separately with 2 fans, suddenly heads were inverted and impossible to mount, quick change of direction and it's ok.
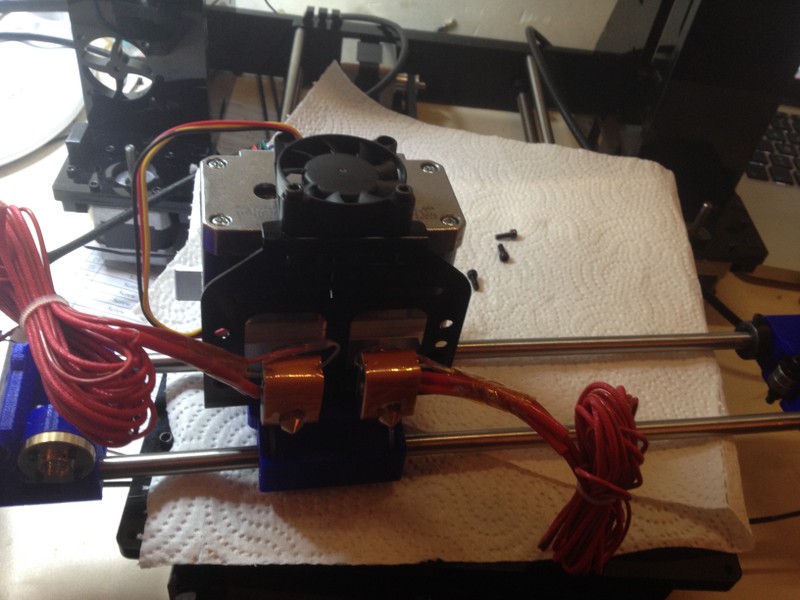
The X axe terminated
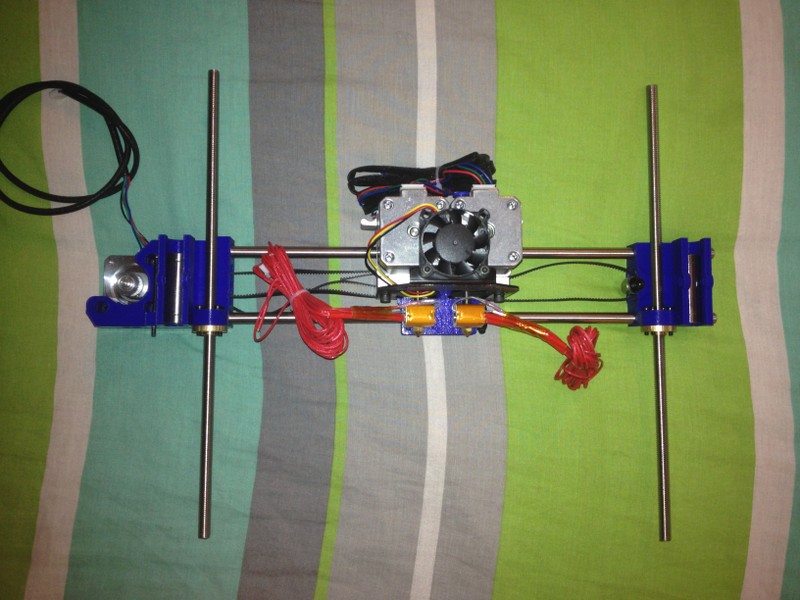
And first part finished
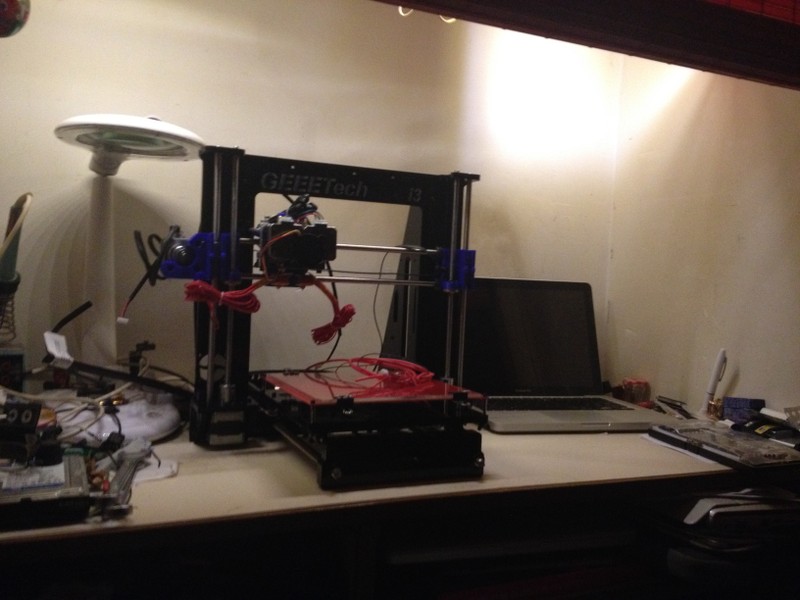
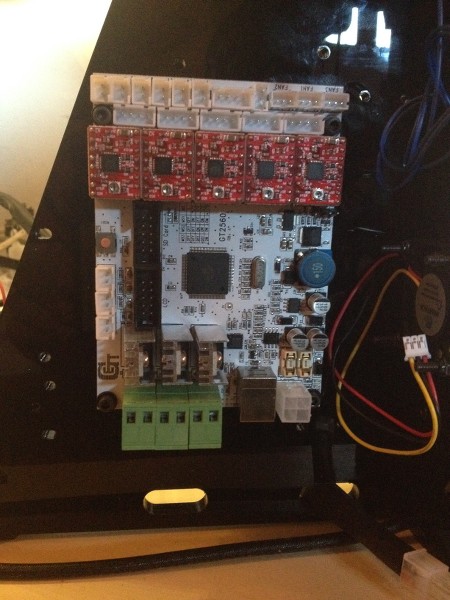
The card installed
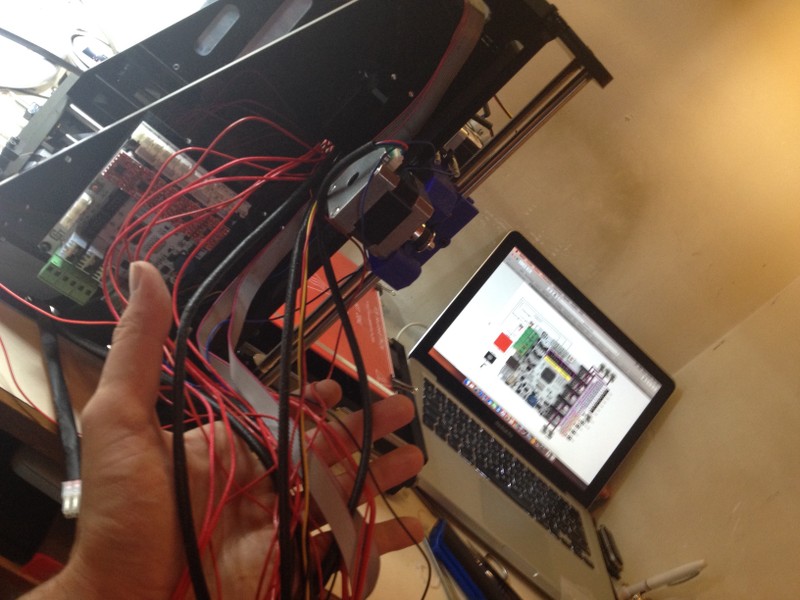
And one of my favorite, wiring HAHA
Tadam
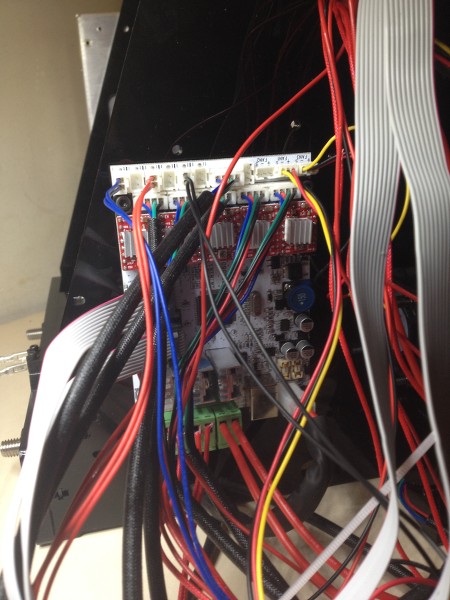
Important, you not need an Y wire for the Z motors, the new card have two slot for it
Firts test for look is all is ok
Yes everything works except the settings
Direct terminate the wiring
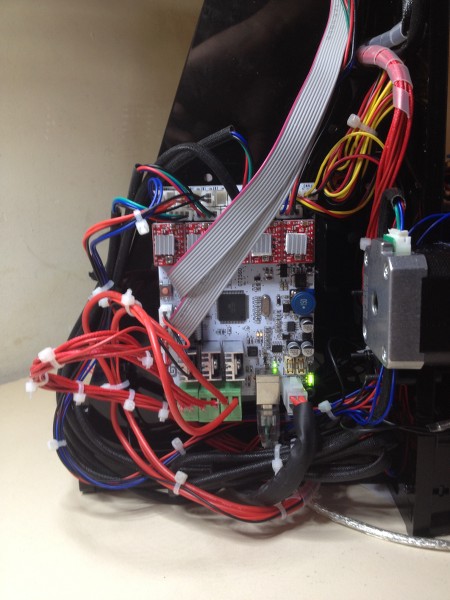
And here is ready to be firmware manipulated
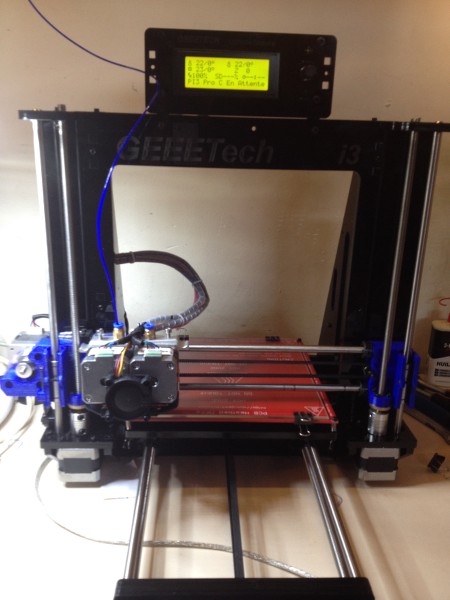
And after a while digital surgery, my first print
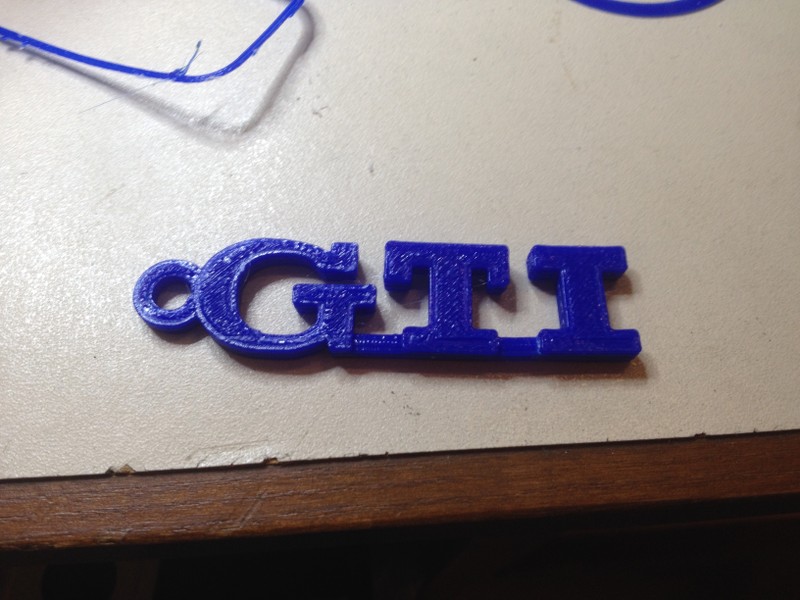
Et voilà, my little is finish, i'm in love
Thanks GEEETech for my first printer and for your presence after buy.
Pat.
Re: My I3 Pro C
Hi!
Very nice work!
I have the same printer. I had a lot of problems while assembled it, but looks working.
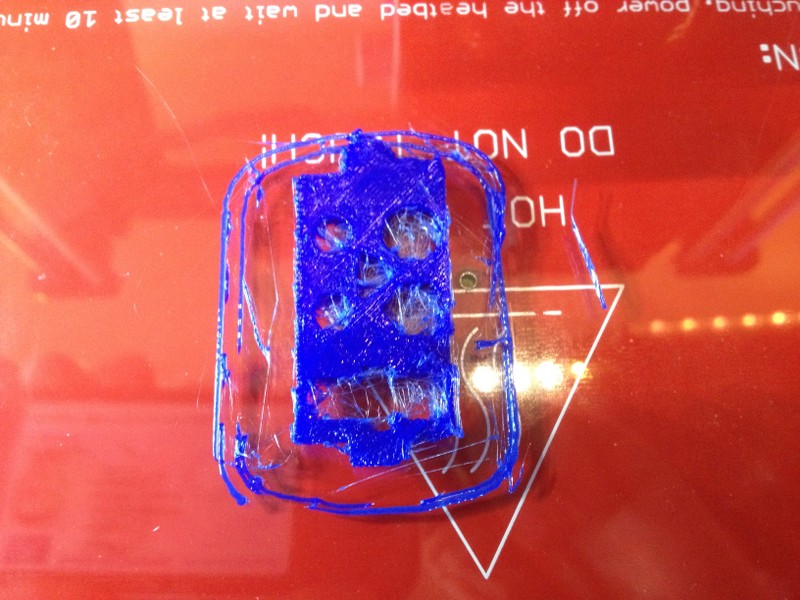
My first attempts to print something was terrible. I'm completely new in this and I would like to ask you to share settings of your prtinter.
I tried to print holder for 3DTouch (https://www.geeetech.com/wiki/index.php ... ing_Sensor)
The result was something very distorted. I can't print whole figure because it peels away from the bed.
Thank you in advance!
Re: My I3 Pro C
Hi,There are many different ways to cope with these first layer adhesion problems,and you can find more details in this link:https://www.geeetech.com/wiki/index.php ... ting_Guide.barbarian wrote:Hi!
Very nice work!
I have the same printer. I had a lot of problems while assembled it, but looks working.
My first attempts to print something was terrible. I'm completely new in this and I would like to ask you to share settings of your prtinter.
I tried to print holder for 3DTouch (https://www.geeetech.com/wiki/index.php ... ing_Sensor)
The result was something very distorted. I can't print whole figure because it peels away from the bed.
Thank you in advance!
-Keep your mind and try to test it.
-Everything will be fun!-Support all Getech printer.
-You can ask me the questions and I will kindly reply.
-Respect others is the best way you can get help!
-Everything will be fun!-Support all Getech printer.
-You can ask me the questions and I will kindly reply.
-Respect others is the best way you can get help!
Re: My I3 Pro C
This is a great printer, but Geeetech really needs to make better manuals. The manual that the included documentation linked to for download was actually wrong, luckily i found the right manual via this forum. Even then I had to make some assumptions. But the printer itself worked great! Only part I've had fail are the bearings in the pulleys. I replaced those with some Traxxis TRA7019 RC car bearings from the local HobbyTown and they've been great! I've really used the hell out of this printer since I built it and if you take the time to understand how it (and all Prusia/RepRap clones) works then you can really get great results. My prints are on par with entry level pre-built units from 'other' companies that cost much more! I'm a happy Geeetech customer. You have realize your getting a lot of tech for what might seem like a bit of cash... but it's really dirt cheap! You do need a little tech know-how, or even just the will to learn... but if that's you, then the Pro C can do some really great prints!
Re: My I3 Pro C
Thank you very much for your feedback. Hope you get more fun with this printer and feel freely to share your experience on this forum. By the way could you tell more details about the wrong manual to make it correct?atgaskins wrote:This is a great printer, but Geeetech really needs to make better manuals. The manual that the included documentation linked to for download was actually wrong, luckily i found the right manual via this forum. Even then I had to make some assumptions. But the printer itself worked great! Only part I've had fail are the bearings in the pulleys. I replaced those with some Traxxis TRA7019 RC car bearings from the local HobbyTown and they've been great! I've really used the hell out of this printer since I built it and if you take the time to understand how it (and all Prusia/RepRap clones) works then you can really get great results. My prints are on par with entry level pre-built units from 'other' companies that cost much more! I'm a happy Geeetech customer. You have realize your getting a lot of tech for what might seem like a bit of cash... but it's really dirt cheap! You do need a little tech know-how, or even just the will to learn... but if that's you, then the Pro C can do some really great prints!
-Keep your mind and try to test it.
-Everything will be fun!-Support all Getech printer.
-You can ask me the questions and I will kindly reply.
-Respect others is the best way you can get help!
-Everything will be fun!-Support all Getech printer.
-You can ask me the questions and I will kindly reply.
-Respect others is the best way you can get help!
Re: My I3 Pro C
I also had lots of problems with my i3 pro C,
But the good thing was that the geeetech people were very helpful to sort them out.
As it was mentioned above you need to spend a lots of time to understand your printer and how to use it, Ive spent hours to read about 3d printing and what to do and don't and am just getting there and k ow for a fact that I will have many fail prints.
Re: My I3 Pro C
Nice work,
I have build the Rostock mini G2s and for the assembly i took the liberty to watch the videos provided by Geeetech, nice work on those videos btw.
My G2S is now becoming a G2s Multi-Colour becausse recently i bought the diamond 3 in 1 out hot-end, the Rumba board and a 3th extruder. Now the transformation is mechanically completed but i'm printing an enclosure to use with plexi covers. I'll start a new post with pics and video later on